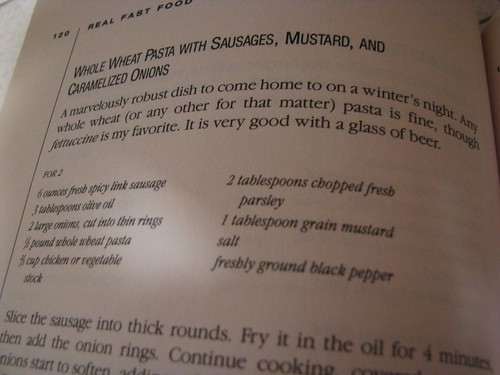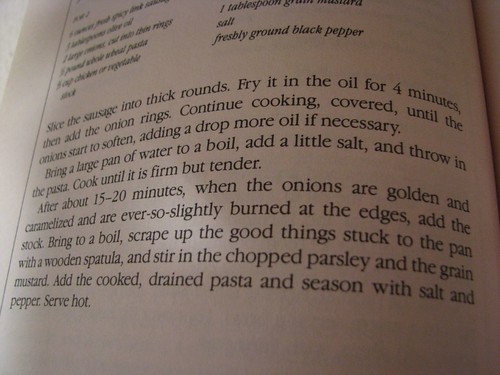
Get your broiler pre-heated and lets gather some ingredients.
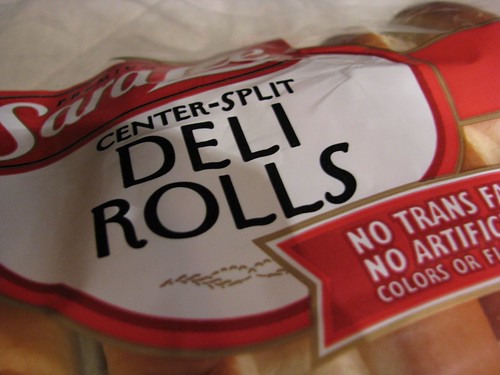
I used a regular deli roll, you can use whatever bread you like.
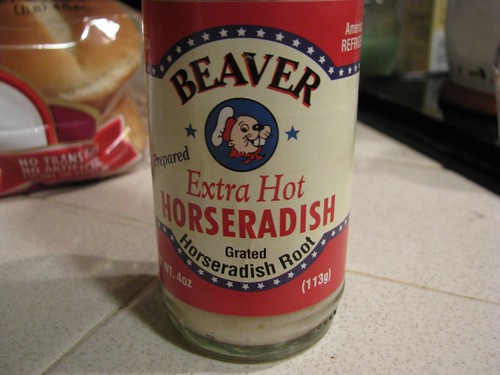
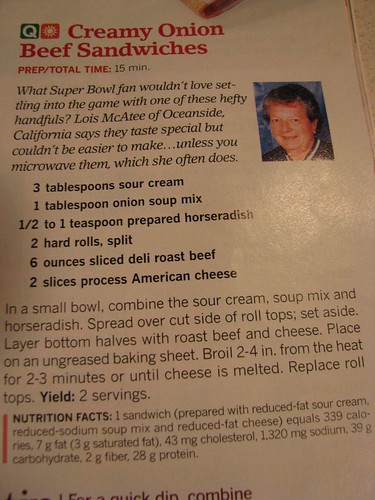
You need some delicious horseradish.

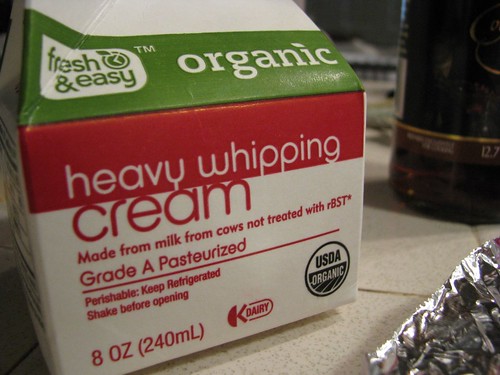
The recipe calls for sour cream but I had some creme fraiche so I used that instead. If you have never used this, it is like a mix between sour cream and cream cheese. So, essentially, it is creamy deliciousness.

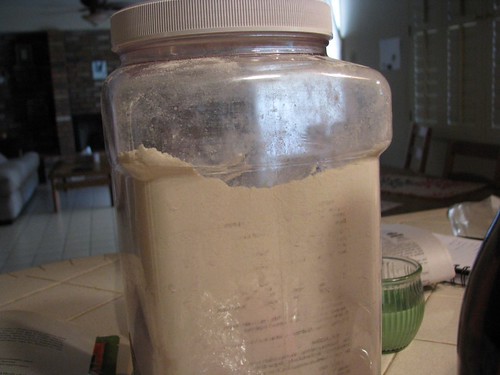
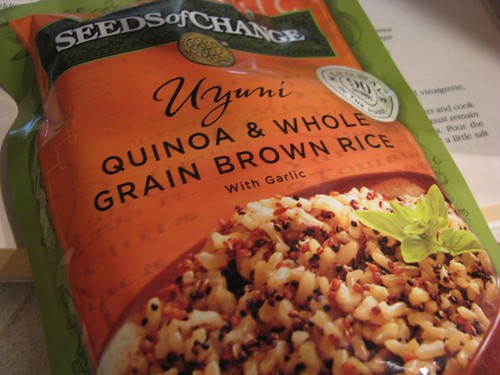
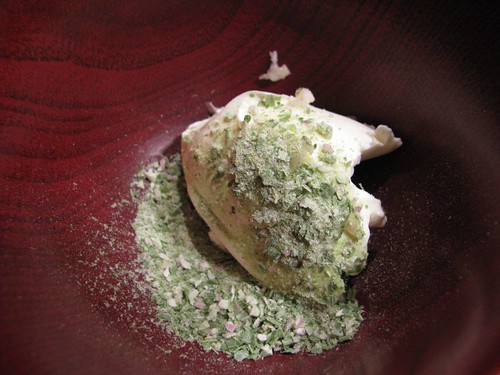
Some onion soup mix or your favorite seasoning mix. I used Penzey's Fox Point seasoning.

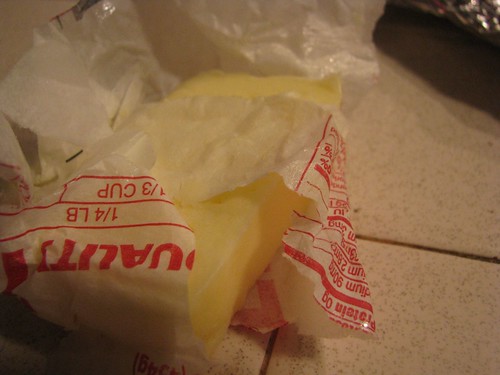
Some cheese.
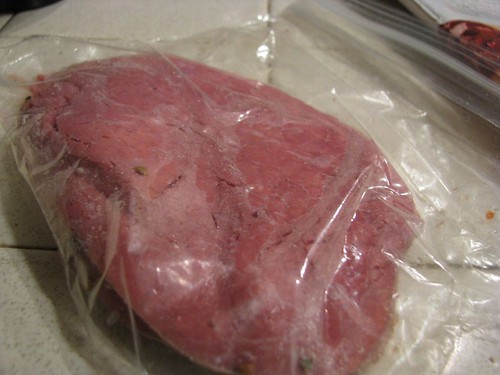
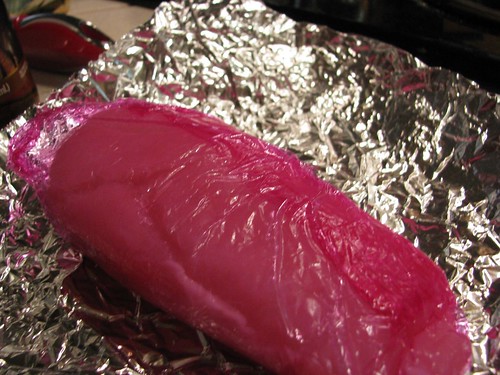
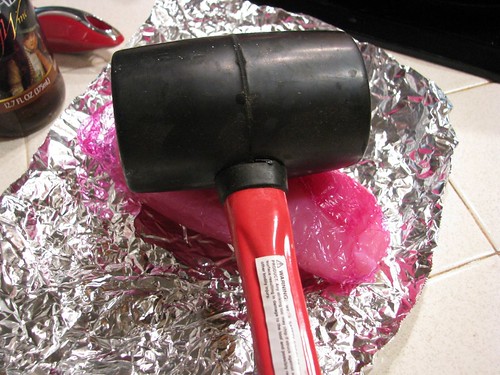
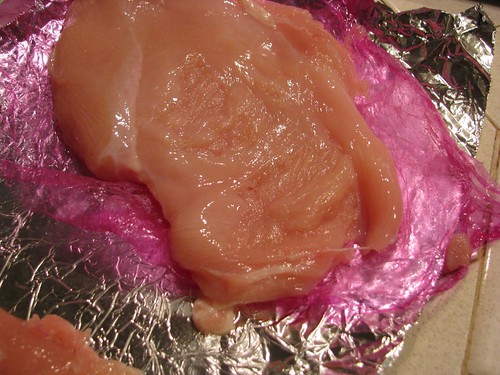
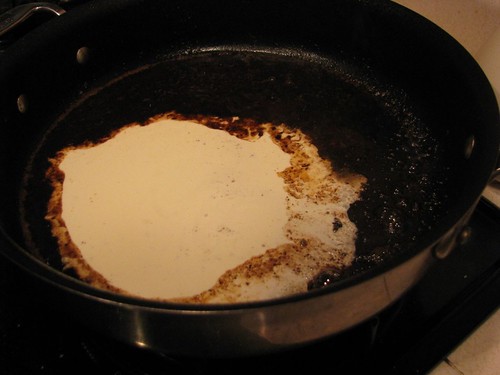
And some beef.

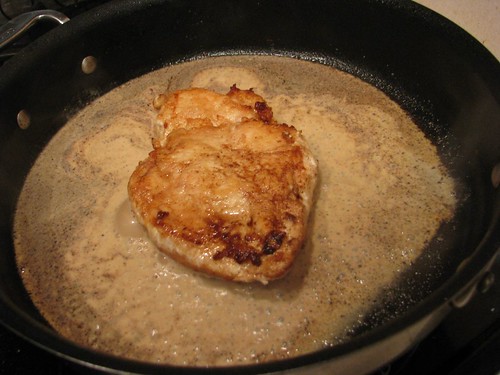
Stack the meat and cheese on the bottom of the roll and get it on the broiler pan and let it broil for 2-4 minutes. While that cooks, make the spread.
Combine your sour cream, horseradish, and your seasoning...
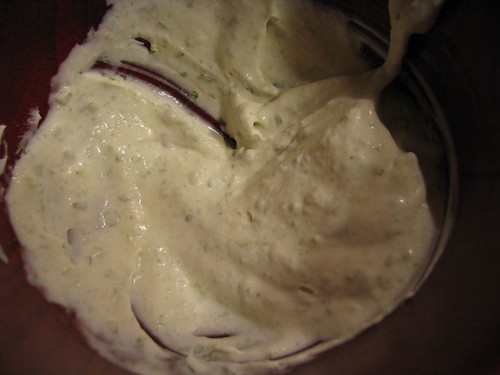
Give it a stir!

Spread it on the bread and wait for the bottom half.

Stick the two halves together and you are ready to eat! Serve it with some chips or veggies. This is a quick, but hot meal that will fill you up and get you out of the kitchen in a hurry.