Tuesday, April 29, 2008

Baked Chicken Thighs with Onions and Red Peppers

This recipe came from recipezaar.com

Ingredients
2 lbs fresh chicken thighs
seasoning salt (can use white salt)
pepper
3-6 tablespoons oil (or as needed)
1-2 tablespoon fresh minced garlic
1 onion (sliced or coarsley chopped)
1 small green bell pepper, seeded and finely chopped (optional)
1/4-1/3 cup french's yellow mustard
1/4 cup ketchup
1/3 cup cider vinegar
1 tablespoon liquid smoke
1/3 cup dark brown sugar
1 tablespoon chili powder (or to taste)
1/8 teaspoon ground red pepper (or to taste, this stuff is really hot!)
black pepper
salt (optional)


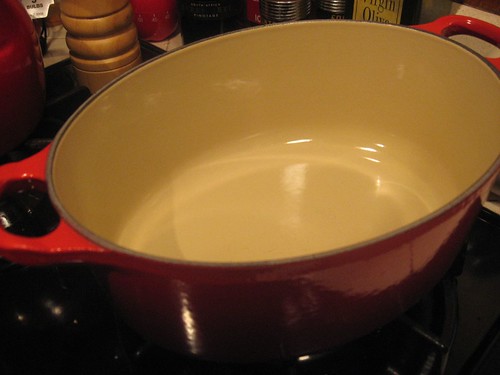
Grease a large casserole dish.

Sprinkle the onion slices and green pepper (if using) on the bottom of the baking dish.

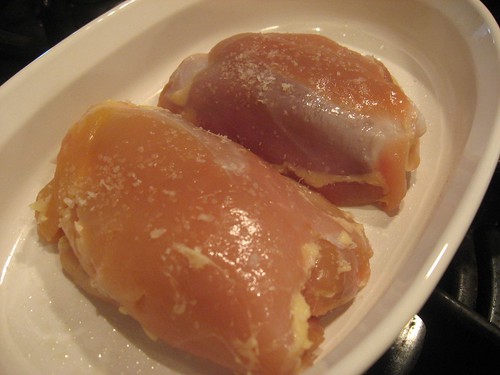
Season the chicken with salt and pepper, then brown in oil on both sides.

Place into the casserole dish on top of the onion slices.

In a bowl whisk together the mustard, ketchup, cider vinegar, liquid smoke, brown sugar, chili powder, fresh garlic and ground red pepper (start with 1/8 teaspoon and increase, this stuff is really hot!) and black pepper; mix well to combine.

Pour over the chicken thighs.

Using hands turn the chicken to coat well in the sauce.

Bake at 350 degrees for about 40 minutes, or until the chicken is completely cooked through and tender.

*NOTE* If you do not pre-brown the chicken first then bake the chicken for 50-60 minutes or until cooked.

This looks like a lot of ingredients but it is very simple and it tastes great so it is worth it! One tip I can't stress enough is to get your ingredients out before you start cooking anything. Read the recipe, grab all the ingredients and make sure you have all the cooking tools you will need also!

So lets start gathering our stuff!


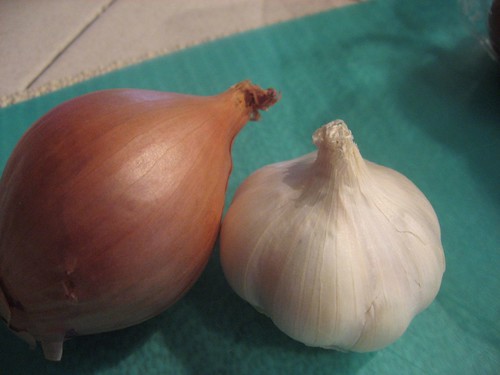
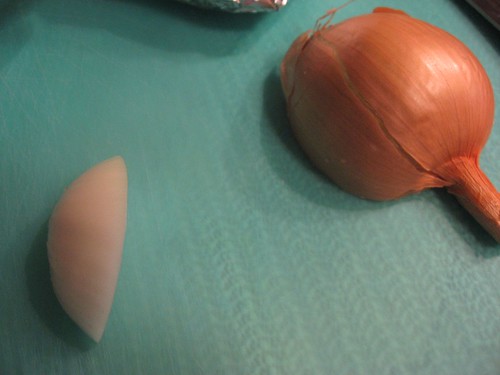
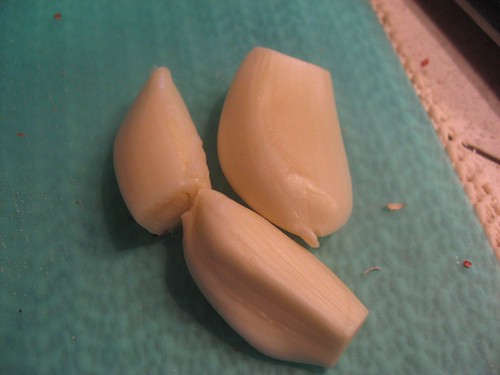
Shallot and Garlic, you can use onion also.


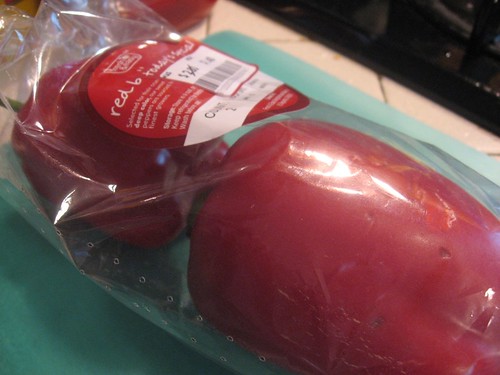
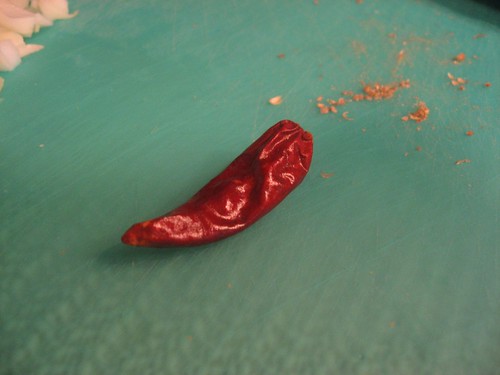
I used Red Pepper instead of green because that is what was on sale.
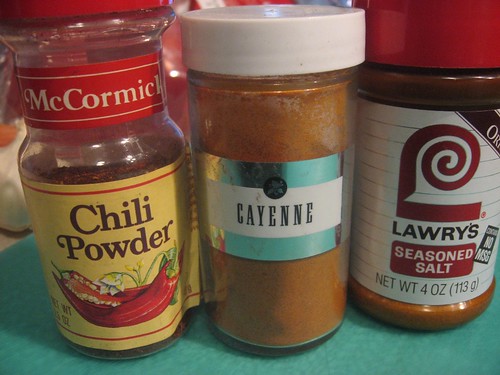
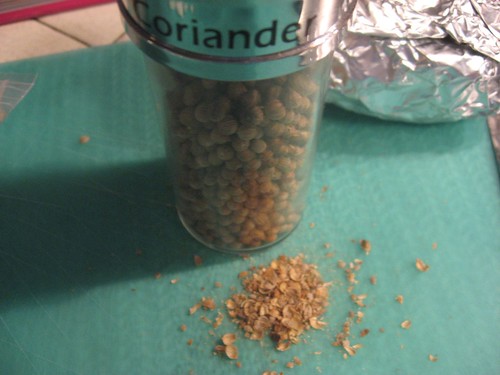
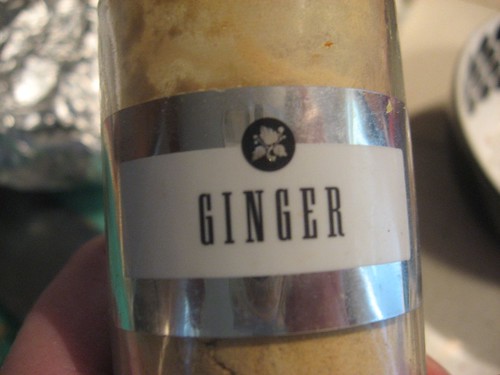
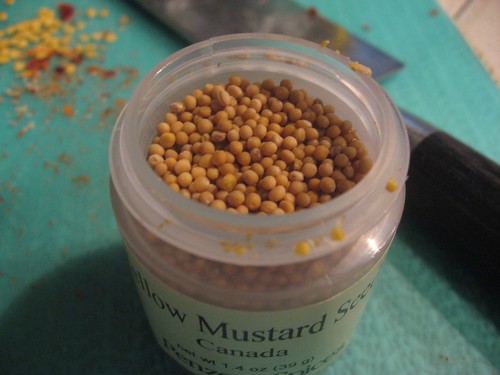
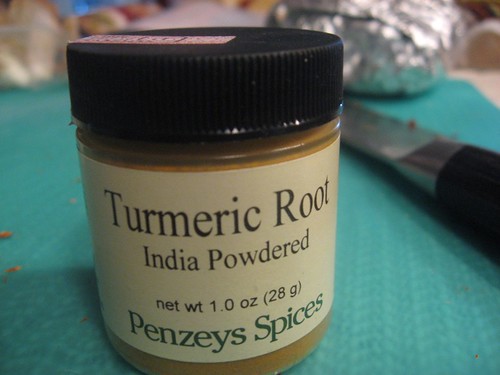
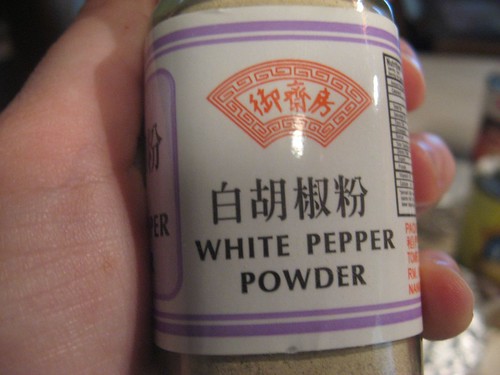
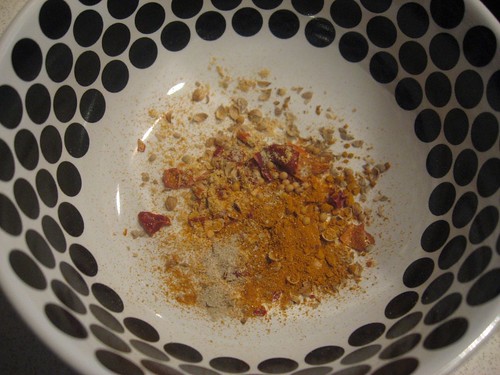


Your spices


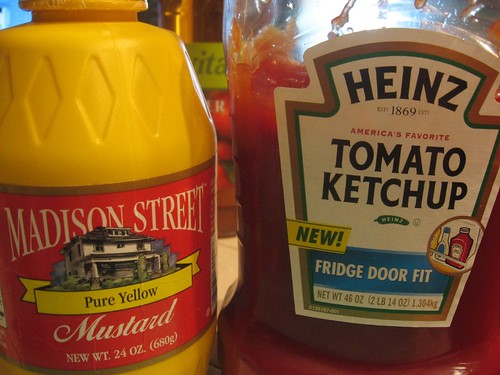
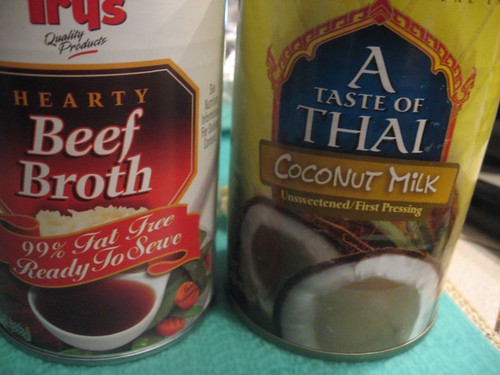
everyone's favorite condiment duo


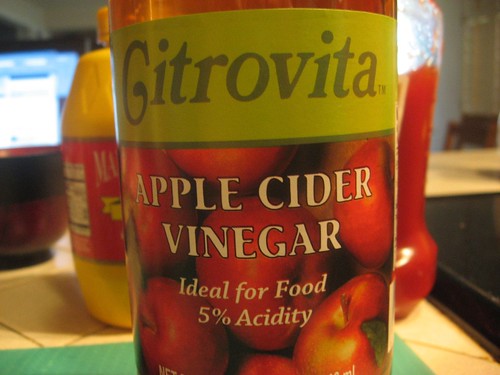
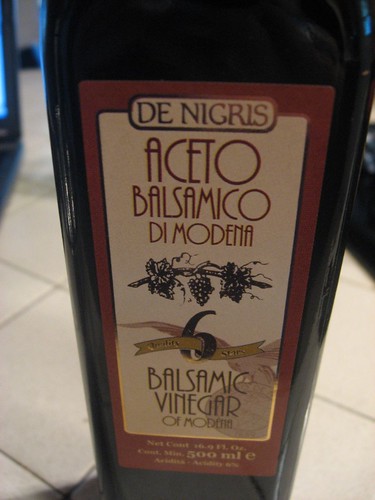
Delicious cider vinegar. If you don't have this you could substitute with red wine vinegar.

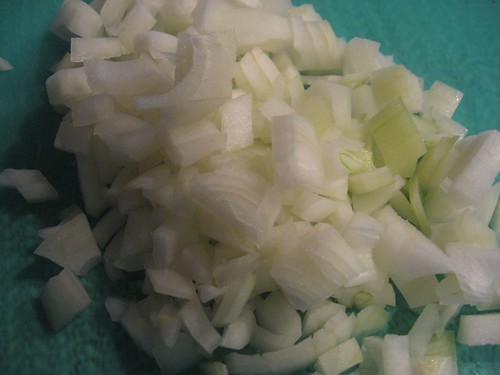
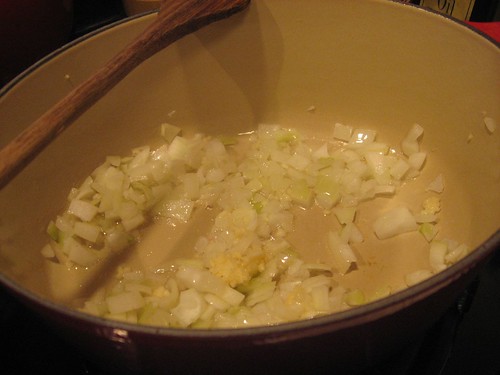
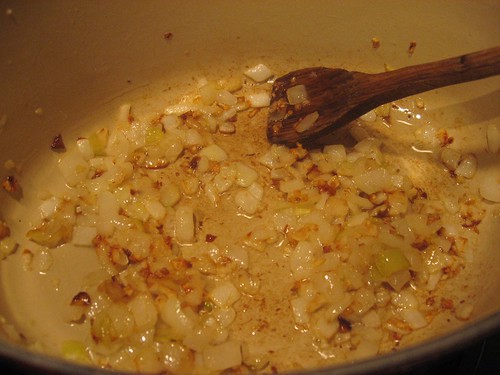
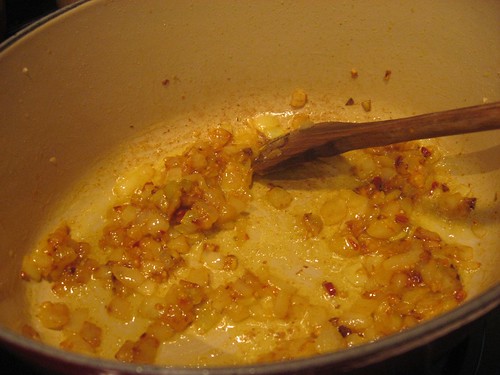
Get your onions and peppers chopped


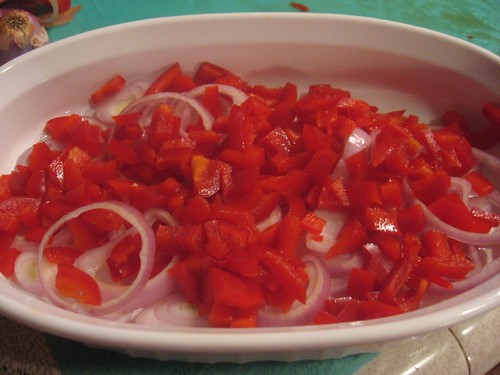
Put them in a greased casserole dish.


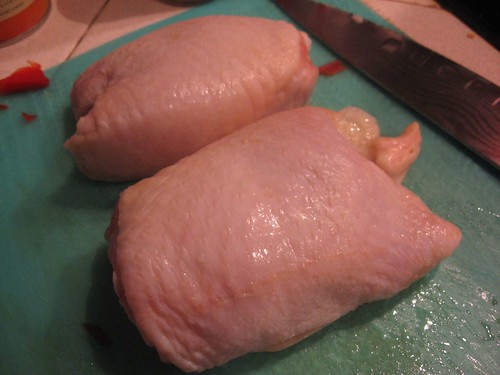
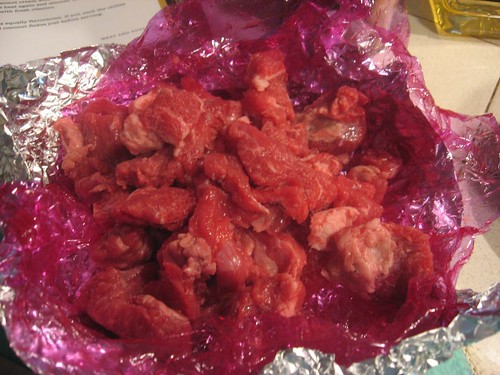
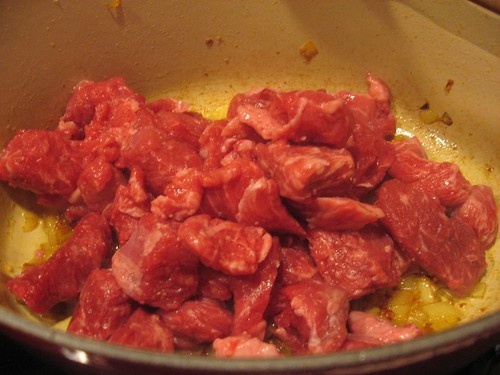
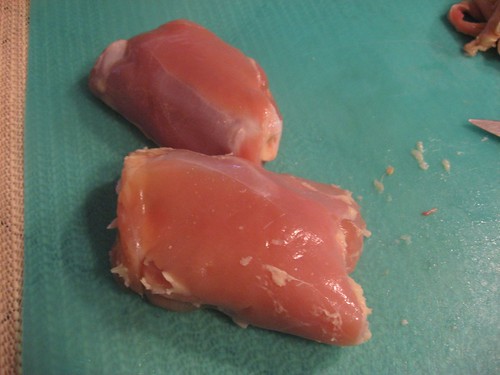
I am again working with Chicken Thighs. I love them and they are just too cheap to not cook with all the time.


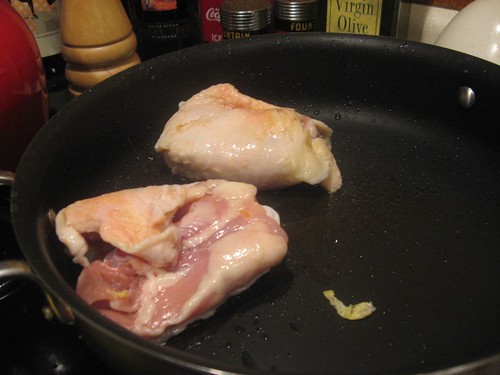
Brown them up in a nice and hot pan.


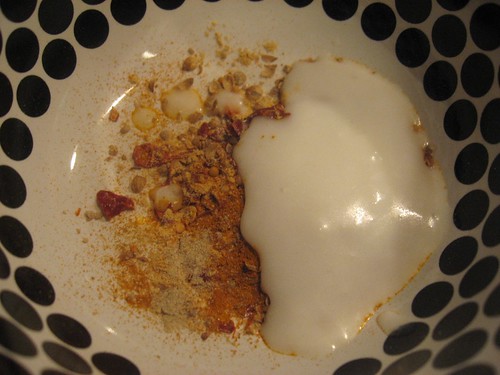
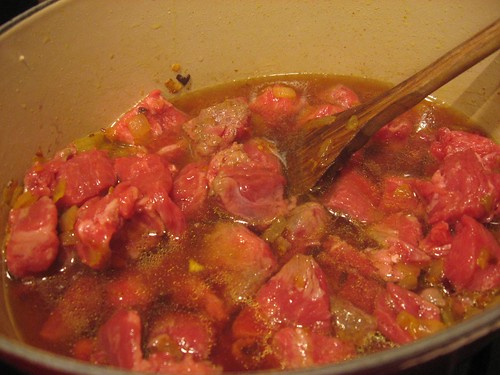
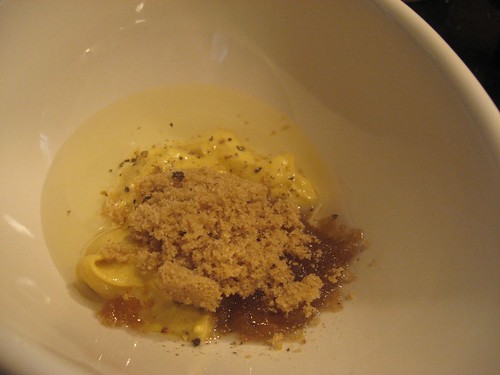
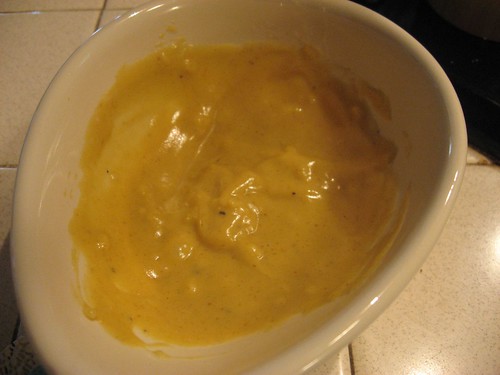
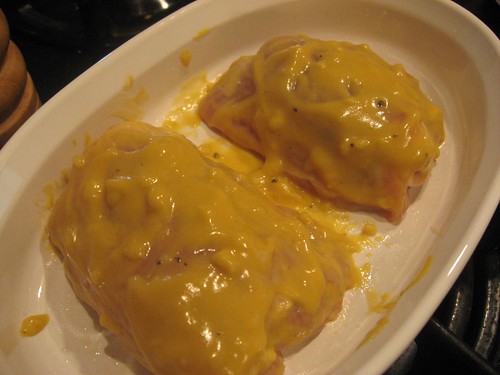
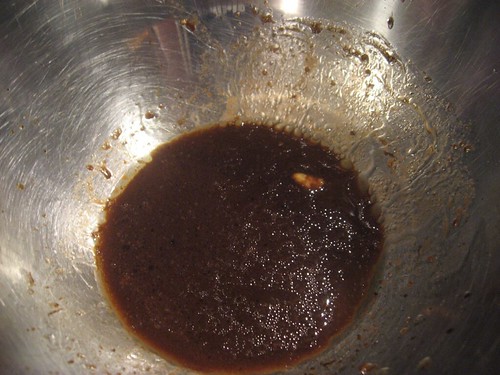
Now add all your sauce ingredients together into a bowl. that is the mustard, ketchup, cider vinegar, (I didn't have liquid smoke but if you do go ahead and add it), brown sugar, chili powder, garlic and ground red pepper.


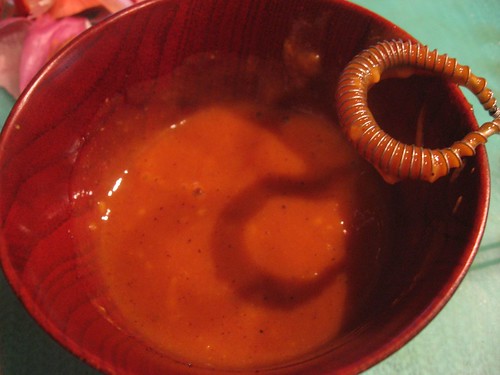
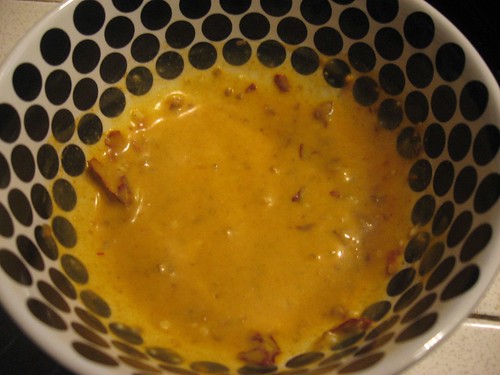
Stir it up and you just made BBQ sauce!


keep an eye on those thighs!


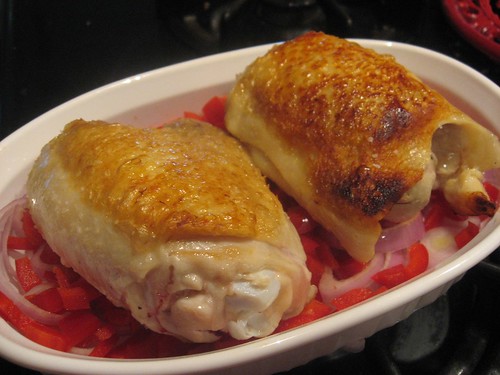
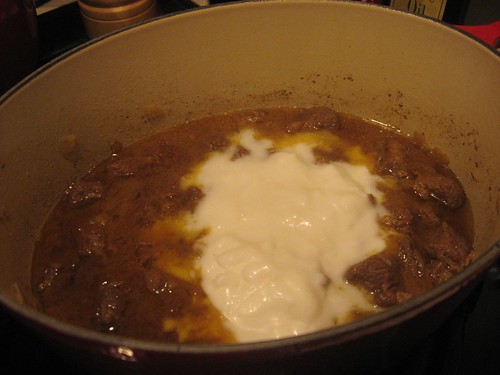
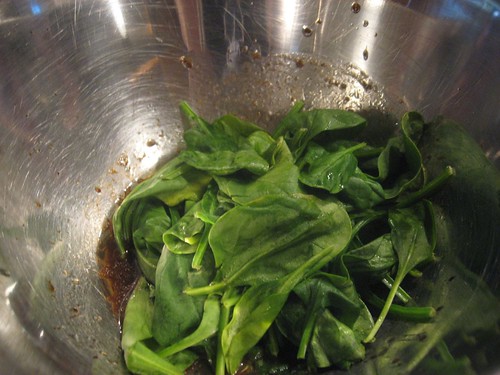
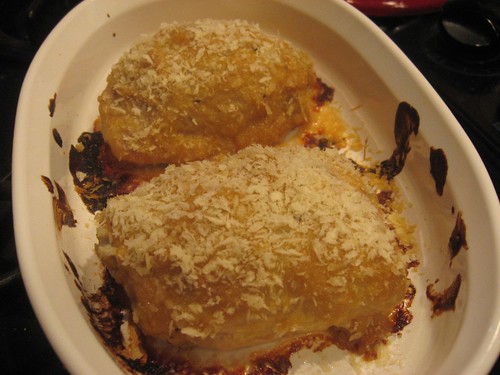
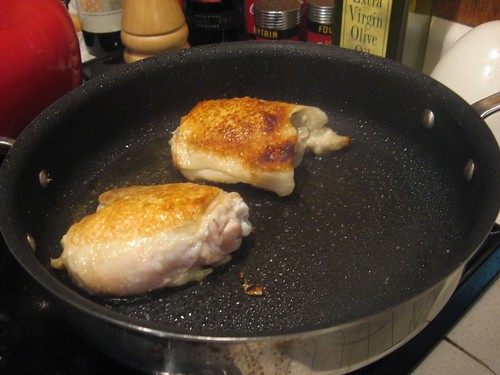
once they are browned on both sides put them on their veggie bed and its time to drown them!


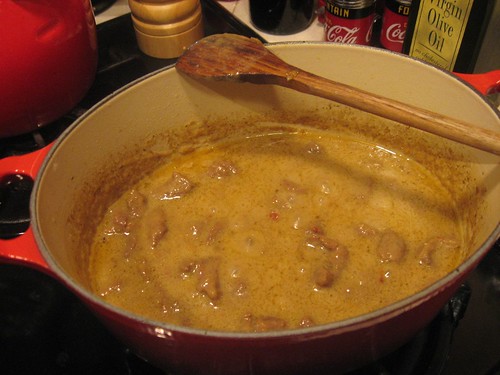
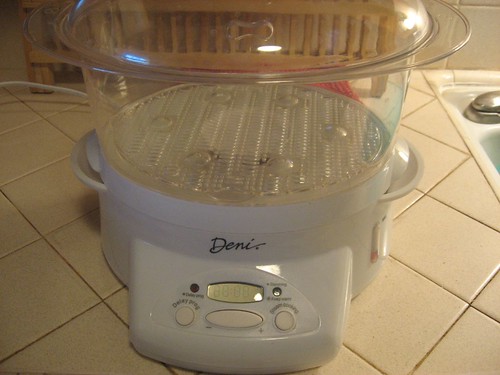
Pour the sauce over the top and pop it in the oven or the toaster oven. I have to say I am glad that some readers have commented that they have discovered the joys of the toaster oven. I seriously LOVE mine.


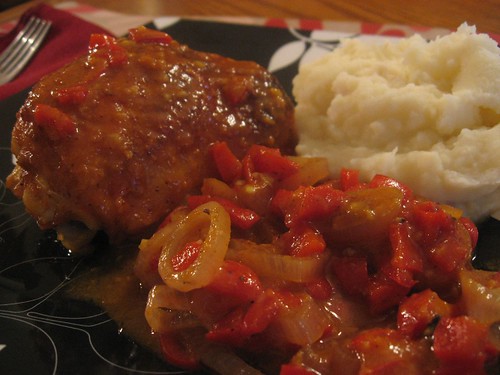
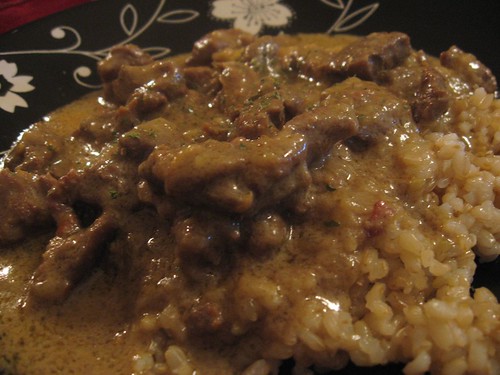
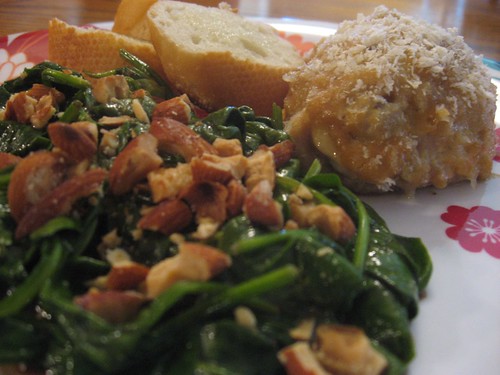
I served this up with those fabulous bagged mashed potatoes!!! The veggies that are under the chicken ended up being my favorite part of this meal.


If anyone has any requests for me please feel free to comment or email me, I may not be able to try EVERYTHING you request but I will give reasonable requests a try!!

Stumble Upon Toolbar

Saturday, April 26, 2008

Beef Madras

I have been really into Indian and Thai food lately, so I have been doing some experimenting. This beef dish is spicy but the coconut milk mellows it out, I really recommend it since stew beef is a very reasonably priced red meat.


Lets get our ingredients together!


You will need some beef broth and some coconut milk, get those and put them aside for later.


I had some random onion parts in the fridge


Dice them up


Coriander, I crush it up using the jar it is stored in.


One dried red chile


Ground ginger


yellow mustard seeds


Turmeric root


I have white pepper, if you don't you can use regular black pepper


put all the spices in a bowl


Add some coconut milk, this is canned unsweetened coconut milk that you can probably find these days in most grocery stores.


make a spicy paste by mixing it up


get some garlic and mince it up


and grab some oil. I like to use peanut oil when I am making Asian and Indian food.


get the oil in a dutch oven or a large pan


Drop in the onions and garlic and get them cooking


while that cooks, grab your beef and season it with salt and pepper


mm the garlic and onion is smelling delicious


add in the spice paste we made and take a good sniffy sniff, it smells AMAZING!


add in your beef


get your beef broth in and give it a stir


cover it and let it simmer on low for about an hour and a half. Go read a book!


After it has cooked and your beef is nice and tender pour in the coconut milk.


give it a stir and let it simmer and reduce down.


I served this over delicious and nutty brown rice. You could also serve it over egg noodles.


This is spicy and so rich. The coconut milk gives such a unique flavor, but don't worry it is NOT sweet. The coconut milk is unsweetened so it just brings a rich and special flavor to this easy dish.

Stumble Upon Toolbar

Tuesday, April 22, 2008

Deviled Chicken Thighs with Wilted Spinach

I love to buy chicken thighs in bulk because they are so inexpensive and I think thigh meat beats breast meat any day of the week. I freeze the thighs in pairs in some plastic wrap and foil. I do that with all of my meat. I freeze it in single serving portions, even my hot dogs.

1/4 c. Dijon mustard
1 tbsp. plus 1 tsp. vegetable oil
1 tbsp. plus 1 tsp. granulated brown sugar
2 garlic cloves, minced or 1/2 tsp. garlic powder
1/2 tsp. pepper
1/2 c. bread crumbs (plain)
3 lb. skinned chicken thighs

Mix first 5 ingredients together in a bowl. Place thighs skinned side up in a baking dish. Brush top and sides with mixture. Sprinkle with bread crumbs. Bake at 375 degrees for 50 minutes. This recipe can be used for all parts of the chicken (not the feet).

This can't be easier. Combine the first five ingredients and smear it on the chicken!


The mustard.


The oil...


The brown sugar goes in...


A little bit of garlic...


mix it all up with a dash of pepper.


get your thighs and remove the skin (if you want to)


Fat is flavor, but you can do without it and this will still taste great.


Get those thighs salted.


Smother them in the dijon mixture.


sprinkle on some breadcrumbs. I used panko crumbs but regular breadcrumbs would work well also.


Get them in the oven and we will start on our spinach.

INGREDIENTS

* 1/4 cup extra virgin olive oil
* 2 tablespoons balsamic vinegar
* 1 teaspoon lemon juice
* 1 tablespoon bottled minced garlic
* 1 pinch sea salt
* 1 pinch ground black pepper
* 4 ounces baby spinach
* 1 1/2 tablespoons pine nuts


DIRECTIONS

1. In a bowl, mix the olive oil, vinegar, lemon juice, garlic, salt, and pepper.
2. Place the spinach over boiling water in a pot fitted with a steamer basket, and steam 2 to 3 minutes, until wilted but not soggy.
3. Toss spinach in a bowl with the dressing, and sprinkle with pine nuts to serve.


I have this steamer but you can use a steamer basket inside of a pan as well.


mix up some olive oil


some balsamic


some lemon and some of the garlic paste we had out earlier. After that is mixed, grab some nuts.


I always have a random bag or bags of nuts in the freezer. Nuts contain a lot of oils and can go rancid if you do not store them in the fridge or freezer.


I didn't have pine nuts so I used almonds. I crushed them up with my mortar and pestle.


Just before the chicken is ready, get your spinach in the steamer.


combine your vinaigrette


Don't let it steam too long, just enough to wilt it.


give it a stir with the vinaigrette


grab your chicken thighs and you are ready to serve


The chicken was juicy and delicious, if you don't like mustard you will not be a fan of this, but I love mustard so it was perfect for me. I will definitely do the spinach like this again, it was quick and tasty.


Stumble Upon Toolbar

Sunday, April 20, 2008

Chicken Jalfrezi

I like to buy rotisserie chickens from time to time if I am short on time or if I just get a craving for it. This recipe uses some of the leftover chicken to create a tasty Indian dish called Chicken Jalfrezi.


I got this chicken at a warehouse store and it is one of my favorites. The seasonings are strong and all of the meat is juicy and well flavored.


Strip off about a cup of meat. The recipe says to cook the chicken first, but if you are using precooked just skip that step.

gather your other ingredients to have them ready to add.


coriander, which I just crush up using the bottom of a glass or the bottom of the spice jar.


crushed coriander


Chili Powder, turmeric root, and cumin. I always pre-measure my spices into my hand before adding but be warned the turmeric will stain you skin if you don't rinse it off rather quickly.


Grab some garlic paste, powder or fresh, just make sure you have it in there somehow, your taste buds will thank you.


get the ginger or ginger powder. I love fresh ginger and I have said before it is easy to store in your freezer and use as you need it.


I didn't have fresh green chiles but I always keep some of these canned guys around.


Now that we have everything gathered together we can cook. Get some shallots, or onion if you don't have shallots around. Dice them up and grab some oil.


Get them in the wok with the oil.


After about 5 minutes add in your garlic and ginger.


While the onions cook get your green pepper.


Give it a rough chop and get it in the wok with your onions after they have been cooking for a few minutes.


Now that they have been cooking its time to get the tomatoes, chiles, and spices in the wok as well.


Bring this to a boil.


Once it is boiling drop in your chicken and give it a stir. Let this cook for ten minutes for the flavors to combine.

While this cooks you can prepare some rice or noodles to put the chicken over.


I have become a huge fan of these Fresh and Easy rice bowls. You microwave them for 90 seconds and they are done! This is the perfect single serving size with just a little leftover for my dogs.


I also opened some wine to serve with this meal. Even if you are eating alone you can make it special with a nice glass of wine or a nice cloth napkin, you deserve it!


This was delicious and a different flavor than anything I have had before. It is not too spicy and you can add or leave out the green chiles to your desired heat level. Just taste as you go so you don't make it too hot. I hope I am giving you ideas for dishes you may not have considered before and bringing a little bit of variety to your dinner table!

Have a great week!

Stumble Upon Toolbar

Wednesday, April 16, 2008

Steak Salad with Grapes and Blue Cheese

I made a little extra steak with my last meal so that I could have this delicious and filling salad. Salads don't have to be all veggies, you can add a little meat in there to make it a meal.


Grab your steak from the fridge.


Give it a slice and remember that raw meat might be bad for you but it tastes oh so good. I put it in the microwave for a few seconds to take the chill off.


The vinaigrette is simply red wine vinegar and olive oil.


It doesn't get much more simple. You can add some salt and pepper also.


Whisk it up and the dressing is done.


I did the salad with spinach but you can use whatever green you prefer. With the spinach and the beef it is quite high in iron.


Get some grapes


and give them a slice. Don't feed these buggers to your dog no matter how much they beg, they are bad for their kidneys.


So far our salad is very healthy, so its ok to splurge with a little stinky cheese. This is just some grocery store blue cheese, but it is tasty enough.


Get it all combined and serve!


This is a great meal for a hot summer day, or a spring day in Arizona :)

Stumble Upon Toolbar

Monday, April 14, 2008

Pan Seared Steak with Salsa Verde and Green Beans

I am back with another beef recipe for all of you red meat lovers. I will also be posting a nice steak salad recipe later this week with the leftover steak. When I think Salsa Verde I picture a salsa made from Tomatilloes but this is a different kind of 'green salsa' and it pairs beautifully with the steak.


Grab your ingredients for the Salsa Verde!


fresh parsley


Capers. Capers are pickled flower buds. I was afraid of them for a while, but now I really like the unique flavor they bring to a lot of things like salads, pizzas and sauces. As explained on Wikipedia, Capers are categorized and sold by their size, defined as follows, with the smallest sizes being the most desirable: Non-pareil (0-7 mm), surfines (7-8 mm), capucines (8-9 mm), capotes (9-11 mm), fines (11-13 mm), and grusas (14+ mm).


I already had some shallots diced up in my fridge.


White wine vinegar.


A good dijon mustard is an absolute must have for your pantry


chop up your parsley. I use my mezzaluna as it is fun and easy. Thanks Nigella Lawson!


The capers are lovely little bursts of flavor. Give those a chop as well.


get everything in a bowl and mix it up. The salsa you end up with is light and flavorful. It would be great with some wilted spinach and it makes a fabulous tuna salad as I found out the next day when I used up the leftover.


This is not a single serving of steak. I am going to make the whole thing so that I can use the rest tomorrow.


get the steak seared up in the pan. This recipe implies you serve this pretty rare, which is A-OK with me. I love my steaks as rare as possible. If you don't you can throw a lid on the pan and reduce the heat a bit and let it cook a little longer.


while the steak browns you can make a side of roasted green beans. Coat them with a little bit of olive oil and salt and pepper. Throw them in the oven or toaster oven and broil them up for 5-10 minutes to your desired done-ness.


Flip the steak when it gets browned on one side. Pull it out when the other side browns and let it rest before serving. Drizzle the salsa verde on the top and you are ready to eat!


This is a fast meal and is perfect for a hot day when you don't want to be cooking for too long.
You may not be worried about hot days yet, but it is currently 96 here in sunny Arizona. With that being said I will be doing a lot more stove top and grilled cooking. Also, a few people have commented about toaster ovens and in my opinion they are a must have for cooking for one and for cooking in the summer.

If anyone has any good toaster oven recipes they would like to share, send me an email diningaloneblog @ gmail. com

Stumble Upon Toolbar

Friday, April 11, 2008

Hot Tomato Raita

This recipe is from my Asian Cookbook. It is for a Hot Tomato Raita. Typically Raitas are yogurt based with cucumber and/or onion. This is a fun variation that still has yogurt but also has tomatoes and onion. This is a nice dip and I later used some of the leftover as pizza sauce on a tortilla pizza. So lets get on with it!


Because this recipe moves quickly do the prep work before you actually start cooking anything.


Grab your tomatoes


The spices and peppers


Your shallot


Your ginger, which you can store in the freezer.


mince your garlic and grate your ginger and set it aside.


Slice up your shallots.


Dice your tomatoes


and get your spices measured out. This is the chiles, turmeric, curry and coriander.

Now that you have everything prepped, you can get your heat going on your pan with the oil.


Toss in the mustard seeds and keep them moving until they start to dance around in the pan.


drop in the shallots and stir them around.


They will brown up and then you want to add your dry spice mixture.


At this point, the smells in this pan will explode.


I didn't have fresh peppers so I used these from the fridge.


I put those in the pan with the tomatoes and tomato paste and gave it a stir.


While this simmers for 10 minutes, grab some pitas. I store these in the freezer also.


Pop them in your toaster oven or into the oven directly on the rack at about 450 degrees. get them toasted to your liking.

after the ten minutes pull the raita off the heat and slowly stir in the yogurt


the yogurt will calm some of the heat from the chiles and adds a great creaminess to the dip.


Serve it up with your toasted pitas and enjoy.


I told the SO this was like an Asian salsa and he tried it and LIKED it! I was impressed.

Have a great weekend guys! Thanks again for spending some time with me today and I hope you are all still cooking!

Stumble Upon Toolbar

Tuesday, April 8, 2008

Prosciutto Wrapped Chicken Breast with Roasted Green Beans

I don't often broil meat but this turned out really juicy and delicious so I am sure I will be doing it more often. This recipe is from Everyday Food and serves one.


I don't cook with fresh green beans as much as I should, they really are easy and so much better fresh.


Toss them with a little olive oil and some salt and pepper. You don't need any other flavors, they will roast up and be delicious with just this simple seasoning.

It is getting hotter here in AZ so I will be using my grill and toaster oven a lot more.


I got the toaster oven preheating on broil and grabbed its tray and lined it with foil.


lay the green beans out in a single layer and then its time to work on the chicken.


Make sure the other side of the tray is sprayed with a little olive oil so the chicken does not stick.


You need one chicken breast seasoned.


and some prosciutto. This stuff is salty on its own so you don't need to add too much salt to your chicken breast.


If you haven't worked with it before it is a cured ham product from Italy that is cut paper thin. It can be a pain to work with (if you have no patience like me) but the taste is worth it.

Wrap the chicken up tight and place it seam side down on the baking tray. Put it in the broiler and let it cook for about 15-20 minutes. I pulled the green beans out after about 12 so they wouldn't burn.


You can serve with a lemon wedge to brighten up the flavor of the beans, but I barely used any. The beans get a delicious flavor from the roasting.


This is a fast and flavorful meal that is perfect for a weeknight dinner.

Stumble Upon Toolbar

Sunday, April 6, 2008

Panko Breaded Pork Chop with Lemon Butter Broccoli

I have been exploring more recipes that use the Panko breadcrumbs. I found this in my recent issue of Everyday Food.


You want to make a cutlet out of your pork loin which is easily done with a small pan and some plastic wrap. If you have a mallet of course that works great also.


smack it with the pan until it is about 1/4 inch thick


These are the panko crumbs, they crisp up nicely and have a nice light flavor.


Toss them on a cookie sheet with some olive oil and put them in the oven to toast. The recipe says you should cook them for about 7 minutes but they will be toasted after just a few. Keep stirring them around while they toast so they brown evenly.


Pull them out when they are all nice and golden brown and set them aside.


Get your pork covered in dijon mustard. This will allow the breadcrumbs to adhere to the pork without using eggs and adding another layer of flavor.


Once you have it covered on one side you can move it to the breadcrumbs.


Lay the pork on the crumbs and then coat the other side with the mustard.


I don't have a baking rack that fits in my cookie sheet so my SO actually suggested this. It is the rack from our toaster oven!


Pop it in the oven and lets get a side dish going.


Grab the pan you flattened your pork with and toss in some frozen broccoli.


Get some lemon and some butter.


Cook the broccoli up and then add the lemon and the butter, don't forget a little salt as well.


After the pork has cooked for about 10-15 minutes you are ready to plate and eat!


The pork was juicy and the breading was crispy and full of flavor thanks to the mustard. If you don't like mustard you could always use an egg wash to get the breadcrumbs to stick to the pork.

Have a great week!

Stumble Upon Toolbar

Friday, April 4, 2008

Chicken Breast with Balsamic Mushroom Sauce

From Http://www.allrecipes.com

INGREDIENTS

* 1 skinless, boneless chicken breasts
* salt and pepper to taste
* 3 ounces fresh mushrooms, sliced
* 1-1/2 teaspoons all-purpose flour
* 1-1/2 teaspoons olive oil
* 2 cloves garlic
* 1 tablespoon balsamic vinegar
* 3 tablespoons chicken broth
* 1 bay leaf
* 1/8 teaspoon dried thyme
* 3/4 teaspoon butter

DIRECTIONS

1. Season the chicken with salt and pepper. Rinse the mushrooms and pat dry. Season the flour with salt and pepper and dredge the chicken breasts in the flour mixture. Heat oil in a skillet over medium high heat and saute the chicken until it is nicely browned on one side (about 3 minutes).
2. Add the garlic. Turn the chicken breasts and scatter the mushrooms over them. Continue frying, shaking the skillet and stirring the mushrooms. Cook for about 3 minutes, then add the vinegar, broth, bay leaf and thyme. Cover tightly and simmer over medium low heat for 10 minutes, turning occasionally.
3. Transfer the chicken to a warm serving platter and cover with foil. Set aside. Continue simmering the sauce, uncovered, over medium high heat for about 7 minutes. Swirl in the butter or margarine and discard the bay leaf. Pour this mushroom sauce mixture over the chicken and serve.

I love Balsamic Vinegar and I love mushrooms, so this really caught my eye. It is easy and SO tasty. I found that using vinegar really brings a lot of flavor to food with no fat!


You need some garlic, of course you can use as much or as little as you want, I like a lot. Mince it up.


Get your flour and season it with some salt and pepper.


Dredge the chicken in the flour.


Get a skillet on the stove with the oil and get it heating up.


Start browning the chicken


While it browns grab your mushrooms


Give them a rough chop.


Turn your chicken when its browned on one side


Drop in your mushrooms and garlic and let it cook for a few more minutes.


Add your chicken broth


Vinegar


and your thyme, if you've got a bay leaf throw that in there also. Put a lid on it and let it cook for about 10 minutes.


While it simmers grab a veggie for a side dish. I always keep frozen veggies to use as a side.

I nuke them or pan cook them and then give them some extra flavor with this


I love this walnut oil. It is a little pricey but a small amount goes a long way.


I keep it in a spray bottle so I can really control the amount I use.


After the chicken has simmered it is time to get it out of there.


Remove the chicken and wrap it in some foil to keep it warm.


Stir some butter into the sauce and just let it melt.


Plate it all up and enjoy.


The sauce is mild even though it is vinegar based, the mushrooms and butter help to balance it out. I will definitely make this again.

Have a great weekend!!!

Stumble Upon Toolbar

Tuesday, April 1, 2008

Posole Presto

Posole or Pozole is a soup made from pork and hominy. This recipe lets you make the traditional recipe on a much smaller scale.


I used a regular boneless pork chop.


I rarely cook with zucchini, but I am really becoming a fan of it. The dogs like it too!


The hominy. This stuff is tasty and filling.


The dried peppers. These are not ancho chilis but they will do.


Soak them up in some boiling water. I am pretty sure they will taste better if you use a cute vintage pyrex dish.


Put the lid on


and give your hominy a nice rinse.


Chop up some shallot


the zucchini


delicious raw or cooked!


chop up your pork and then we begin to put this all together!


put half of the hominy in your food processor with the chilis and one cup of the hot water the chilis have been soaking in. The blade on my food processor is permanently stained from too many batches of a delicious mustard pretzel dip that I love. I will share the recipe on here soon!


give it a whirl until it is combined, but leave some chunks.

Now get your pork and shallot cooking over medium heat.


Add in the mixture from the food processor.


At this point I added some cumin because I love it and I thought the smoky flavor would add something to this.


pop the lid on and let it simmer for about 15 minutes


After the 15 minutes I added in some dried ancho chili powder, this has an almost sweet taste to it, but it is still hot!


Add in the rest of the hominy


toss in your zucchini now also. The recipe said to add water to cover, but I had some leftover chicken broth so I used that instead.


partially cover it and cook over low heat until the zucchini is tender, about 15 minutes.


Almost done!


and ready to eat. serve it with a nice glass of water or iced tea because those chilis have a kick!


Enjoy!

Stumble Upon Toolbar